Wednesday, November 20, 2013

DIY Glitter dipped wine bottles

This is such an easy project! And so much fun!

Clean all the labels off of your bottle and rinse the inside out with some hot water. 

The labels might be a little tricky, but let them soak for a few minutes in some lighter fluid and the label should come right off. Wash the oiliness off with some warm water and soap. 

Make sure your bottle is dry and you are working in a well ventilated area. 

Grab your base color. I went for a classic gold. Hold your can about 6 to 12 inches away and gently spray your first coat. Be careful in getting the spray nozzle too close to the bottle to prevent your spray paint from running. Let it dry completely. 

Repeat the above step until you have reached your desired look. 

Next, grab your liquid Elmer's glue, a paint brush and some glitter! 

Add some glue to a craft plate or a kitchen plate that you no longer care for. Add a small touch of water to make your glue a little runny. Gently paint the runny glue onto your bottle. Immediately cover your glue with glitter. 
*** do this step over a big paper plate that can catch all of your excess glitter. 

Let your glitter dry completely. 

Spray your glitter with a clear spray paint sealant (I used a gloss finish) that can be found in the spray paint department at your local craft store. The sealant protects the glitter from flaking off everywhere. 


Monday, November 18, 2013

A little bit of wine...A little bit of sparkle! 50th Birthday!

A dear friend of mine asked me to help her plan an intimate 50th birthday for a close friend of hers. She was looking for something very elegant, as opposed to the typical black and white, over the hill theme.

Working with the budget that she had in mind, I gathered some used wine bottles. (Thank you to Joe with Damage Control Services who went searching for wine bottles for me!)

I bought some gold spray paint at Hobby Lobby, along with the biggest size glitter container I could find. I also bought a clear, gloss sealer to spray over the glitter to keep them from flaking off.

Stay tuned for a complete DIY tutorial on making your own glittered wine bottle vases!

Just a little touch to celebrate the birthday girl's "50th!"

Bringing in something a little rustic to tone down the glitter a little bit.

DIY Wine cork charms for your wine glass... Guests could personalize these with their names. Keep your eyes open for a DIY tutorial.

Close-up


Four serpentine tables, created into an "S" shape, allowing for 2 formal tables.

White Hydrangea's are gorgeous! They are my favorite flower! However, the slight orange tint takes it away from a more "bridal look" and allows the event to still be elegant without looking too much like a wedding.

DIY Tutorial coming soon!


Two serpentine tables put together to make an "S" shape.


post signature

Friday, October 18, 2013

Racing to 40 with style! Genteleman's 40th Race Car Birthday!

It's easy to think "NASCAR" when you say "racing." However, my client was interested in celebrating her husband's hobby of street racing and incorporating his blue, converted BMW race car at the clubhouse pool where they live. NASCAR was out of the question.

Being at a clubhouse, the pool is a lot larger than one you would find in your back yard. We also had to be considerate of all the neighborhood residence that were going to make use of the pool during the day, so I had to work with one side of the pool area and leave the other side open to neighborhood pool guests.

I was able to tie the whole racing theme together and unify the large space with two 100 foot long racing pennant banners that I purchased from Oriental Trading. I suspended the two banners diagonally across the pool with some metal polls in buckets, which "downsized" the pool area, tied in the other half of the pool area that was open to the residence and tied in the area that our party guests enjoyed!

Aside from the people at the junk yard laughing at me, pulling hubs caps in my high heels, in between bridal appointments, this party was everything I hoped that it would turn out to be!

I used number 10 sized food cans for centerpieces that I collected for the 12th Annual Cattle Barons' Ball for the American Cancer Society.   My inspiration came from seeing vintage oil cans in one of my favorite antique stores. I knew that I could easily re-create the overly priced ($30+) and too small of a size oil can. The bold color templates added just enough "pop" against the classic black and white checkered racing pattern.

The appetizer and buffet tabletops were supported with tires and accented with blue BMW décor.

 
Pennant Banners from Oriental Trading.  

Overview of some of the guest tables.

Bar Area. Rental items from Party Time Rentals in Ocala, FL.

Opposite side of the pool, where party guests enjoyed delicious food from The Mojo Grill and Catering Co.

Happy Birthday to the guest of honor! Cake by Betty Cakes!

Excellent detail!

Centerpiece for the appetizer tabletop.
Table Centerpieces. Hub caps, vintage oil cans and race flags.

Close up

Close up of the BMW racing tires.

Vendor Credits:
Event décor, set up and design: MG Events.
Party Time Rentals
Jennifer with Marely Mae Designs for the invitations.
Special thanks to Mojo's Grill and Catering!
Thanks to Betty Cakes for the amazing cake!
Selective décor items from Oriental Trading.
Thank you to Blockers Entertainment for the great DJ services - 352-454-2445


post signature

Friday, October 4, 2013

Fun Friday!

I don't know about y'all but I am LOVING this blooming monogram!

How amazing would this be if you used letters for all the upcoming holidays? I have to confess, it's hard not to think about Christmas already! Especially when I go into all the craft stores and see all the Christmas stuff coming in! And, our girls will totally get Christmas this year and I'm already looking forward to Black Friday Shopping to get their gifts! This is totally off topic, but anyways, you can make your very own custom creation with this idea!

"BOO" for Halloween, "THANKFUL" for Thanksgiving and the list is endless for Christmas. Instead of flowers, add some holiday fun. Add some spooky eyes for Halloween or small pumpkins for Thanksgiving. I like sparkles for Christmas! I'm thinking something like this on a mantle would look amazing.

For a complete DIY tutorial, click here.

Leave me a comment to let me know what awesomeness you will be monogramming!


post signature

Wednesday, October 2, 2013

"You'll be my glass of wine... I'll be your shot of whiskey" Jack Daniels Themed Couples Shower!

I love all of my events... but I really, really loved this shower! In spite of the CRAZY wind and not being able to get all of my décor out because of the weather, this was probably one of my favorite parties that I have done to date.

My client called, saying that her and her husband wanted to host a wedding shower for their soon to be married friends. She mentioned a few things like, "they are really laid back, maybe something rustic, they like Jack Daniels..." She had my full attention at Jack Daniels! At that very moment, I knew that whiskey barrels, wheat, Jack bottles, burlap, hay bails, market lighting and a nice bon fire would be just what the "preacher man" ordered.

I am just in love with these square tables. I love how they look, that they can seat 8 people and that they don't take up as much space as long tables.

To save some money, I used plastic linens, since it was a BBQ styled dinner menu. I made custom burlap runners to fit the square tables. A local saloon was so gracious in collecting their Jack Daniels bottles for me! Market lights were strung, hay bails were covered in white lace, accented with twine bows, lanterns, candles, smores, some country music and the smell of BBQ chicken on the grill.

Unfortunately, due to the crazy winds, I wasn't able to use my custom made Jack Daniels lamp for the bar. The bar consisted of two whiskey barrels, just like the ones used for the cupcakes. On the far right hand side of the bar top, was a gigantic basket filled with dried peanuts in their shells. The basket was accented with a lantern and a candle. On the left hand side of the bar, was a special little place for my JD lamp. I will have to take some pictures and post a DIY tutorial of the lamp.


Just love this! Plastic silverware turned super stylish!

Vendor Credits: Cupcake toppers by Marley Mae Designs and
 super yummy carrot cake and red velvet cupcakes by Betty Cakes.

Close up

Rustic chic.

Smores Bar.


Hay bails, lace, fire pit, half whiskey barrels with glass tops and lanterns.

Close up

Close up

I had gorgeous, black 36 in balloons for a backdrop behind the cupcakes. However, the wind was SO bad that I couldn't put the balloons out. It was one of the craziest wind storms that our little town has had in a long time.

Gift Tree for guests to hang the couple's "Lowes" gift cards. The big black balloon is the same as the ones that I was going to use for the cupcakes backdrop.

Thank you, Blake Shelton, for your words!!!

I loved my client's idea about the "gift tree."
Centerpieces by MG Events
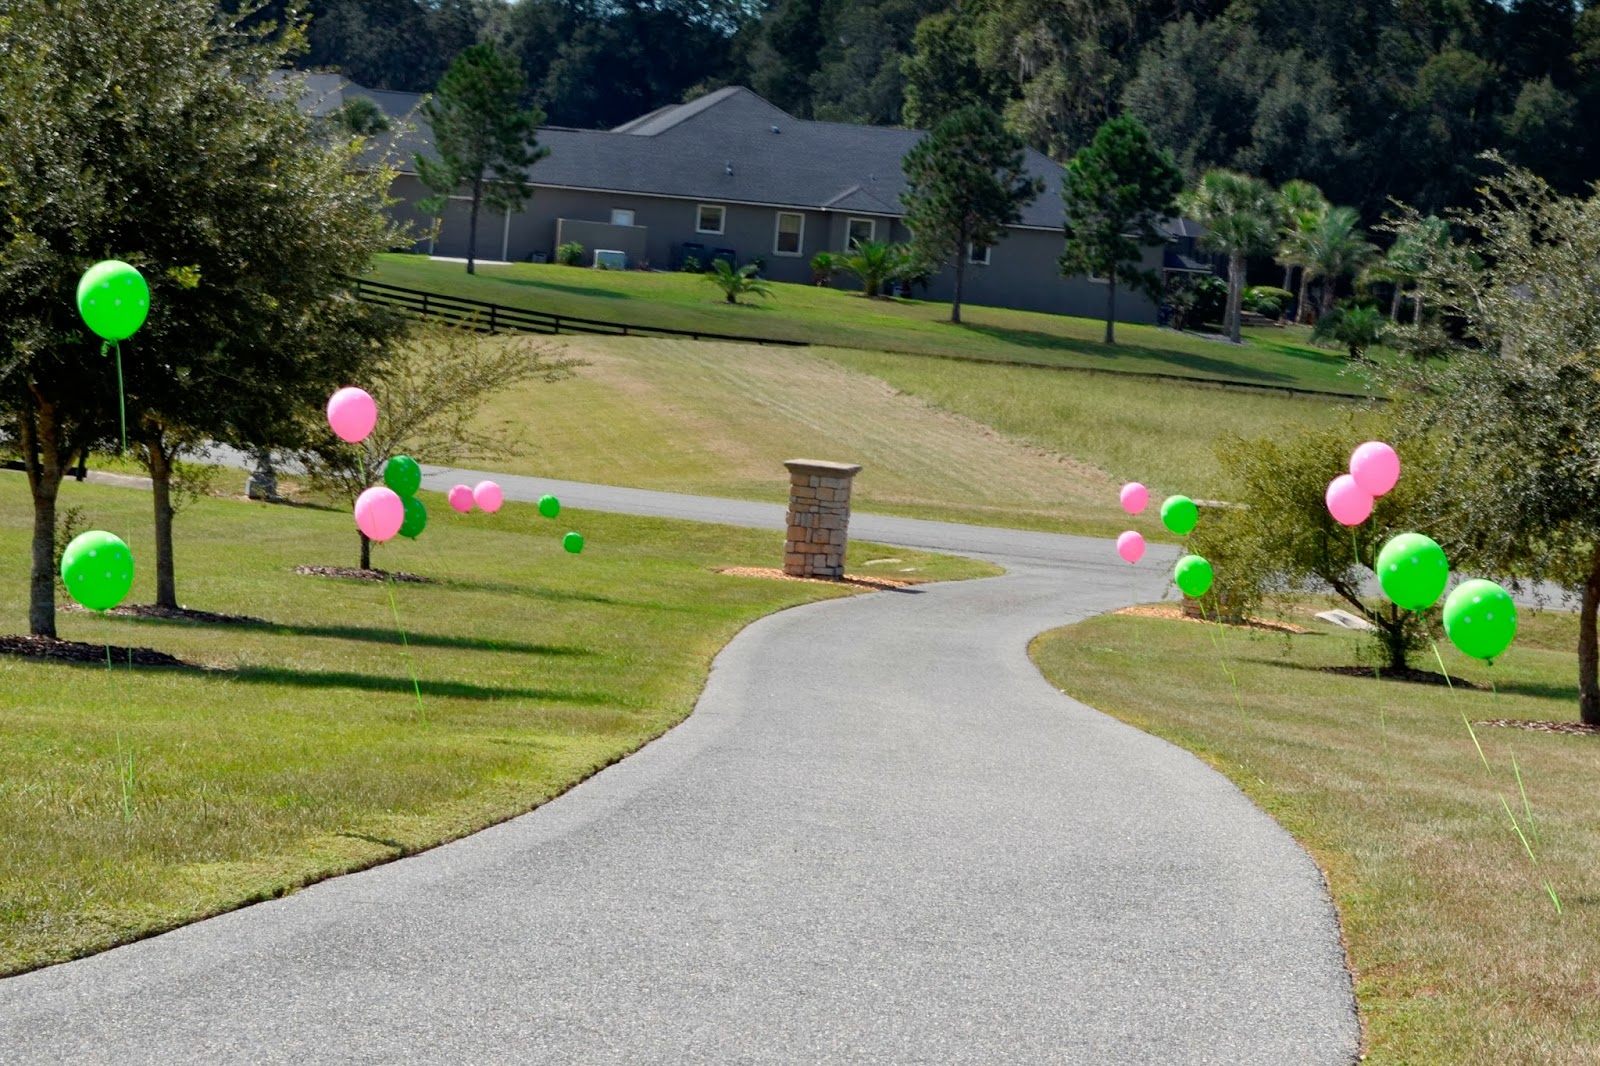
Party this way!

Vendor Credits:
* Event planning, styling and set up by MG Events
* Photography by MG Events
* Custom made invitations and cupcake toppers by Marley Mae Designs
* Party Rental Items by Party Time
* Cupcakes by Betty Cakes
* On site catering by Hills BBQ and Catering
* Bar Tending by Hollie Starr
* DJ Servies by Todd Jones


post signature


Monday, September 30, 2013

1st Birthday Soiree! Pink and Green Ladybugs!

Oh, this first birthday party was so much fun! My client called me months before her daughter's first birthday and as soon as she called me, my brain went into overdrive for ideas.

I scheduled a consultation with her and we both decided that pink and green is a definite color palette! The bold colors are so festive, polka dots and stripes add a lot of texture and dimension, tissue poms, paper lanterns, paper fans and a gorgeous cake were all musts!

From custom made invitations to personalized party take home gifts, a bonce house and face painting; this lady bug soiree had all the little birthday guests giddy with glee!


Vendor Credit: Marely Mae Designs

Vendor Credit: MG Events
Assorted pink and green rock candy in little plastic cups for the animal crackers and pretzel snacks.

Vendor Credit: MG Events
Custom Made bows to accessorize the glassware for the party.

Full view of the snack table.


Vendor Credit: MG Events
Backdrop accessorized with assorted tissue poms, fans and lanterns. Monthly lady bug banner with pictures that my client made.

Close up of the paper lanterns, poms and fans from Oriental Trading.

Vendor Credit:
Custom made confetti, personalized lady bug containers for napkins and silverware.  


Vendor Credit: Marely Mae Designs
Custom Made straw flags.
Just love the custom chalk labels so that each guest can write their name on their cup.


Vendor Credit: Betty Cakes (cake is upside down because I couldn't get a good angle on it when it was already on the high chair)

Vendor Credits: Backdrop and custom made banner by MG Events. Ladybug inserts by Marley Mae Designs.
Cake by Betty Cakes.


Vendor Credits: Banner by MG Events. Cake by Betty Cakes.


Vendor Credits: Custom Made Banner by MG Events. Ladybug inserts by Marely Mae Designs.


Take home gifts table. Each galvanized bucket was personalized with each guests name.

Vendor Credits: MG Events


Tent, tables and chairs by: Party Time Rentals.

Vendor Credits: Flowers, custom made lady bugs by MG Events

Custom made lady bug confetti for all the tables.


Balloons lining the driveway as guests drove in.


Vendor Credits:
*Design and Set Up by MG Events
*Photography by MG Events
*Custom Made paper straw flags, invitations and lady bug cut outs by Jennifer with Marley Mae Designs
*Food and short bread cookies by Martha Jane with Woodlea Gardens
*Cake and smash cake by the amazing Betty Cakes!
*Rental items: Tent, tables, chairs and bounce house from my dear friends at Party Time Rentals.
*Thanks to Jewlez for the face painting!

post signature